
How to Install a Smart Doorbell: Wired vs. Wireless Step-by-Step Guide

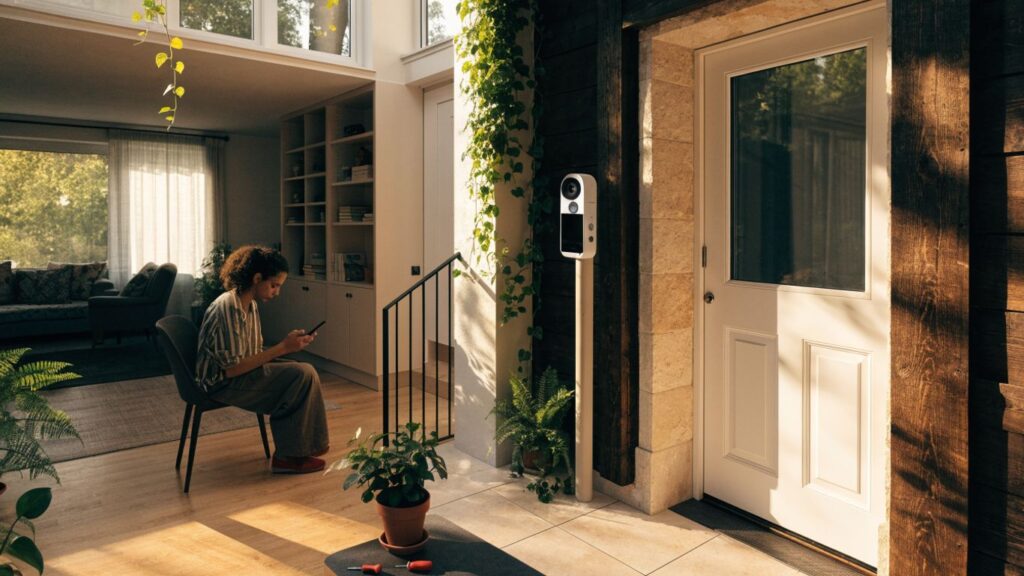
Installing a smart doorbell can be a simple DIY project when the power source, transformer, chime, Wi-Fi, and mounting surface are compatible with the exact model you bought. Battery-powered doorbells usually avoid low-voltage wiring, but they still need a secure mount, dependable wireless coverage, and a realistic charging or battery-replacement plan.
Wired smart doorbells can provide continuous power, yet voltage and VA requirements vary by model, so a working old doorbell does not automatically mean the existing transformer is suitable. In this guide, I walk through both installation paths in the order I actually use, from compatibility checks and safe power shutdown to app setup, alerts, final testing, and the mistakes that create most installation problems.
Quick Answer: How Do You Install a Smart Doorbell?
For a battery-powered smart doorbell, I normally pair the device in its app, confirm the camera view and Wi-Fi signal, mount the bracket, attach the charged doorbell, and test alerts and two-way audio. For a wired replacement, I first verify the model’s transformer and chime requirements, shut off the correct circuit, remove the old button, connect only according to the manufacturer’s diagram, mount the doorbell, restore power, and finish setup in the app. If a new transformer or new line-voltage wiring is required and I am not qualified to do that work, I use a licensed electrician.
Key Takeaways
The installation itself is usually easier than the compatibility work. Most avoidable problems begin when someone assumes all smart doorbells use the same power, chime, Wi-Fi, or battery system.
- Check the doorbell’s required voltage and transformer VA capacity, as wired models have different power requirements.
- Battery-powered doorbells may use rechargeable packs, built-in batteries, or replaceable cells.
- Wired doorbells can use Wi-Fi, Ethernet, or PoE, depending on the model.
- Existing chime compatibility varies, with some models requiring an adapter or separate wireless chime.
- Turn off power before handling wired components because the transformer connects to household mains.
- Choose the mounting height and angle carefully, considering walls, reflective surfaces, lighting, and doorway width.
- Test the camera, motion detection, alerts, and two-way audio from both the walkway and doorstep.
The safest rule is simple: use the exact manufacturer’s guide for the exact model in your hand, and use a general guide like this one to organize the process rather than replace model-specific electrical instructions.
Browse GearVerdicts Doorbells & Cameras
Before You Install: Choose Wired or Wireless
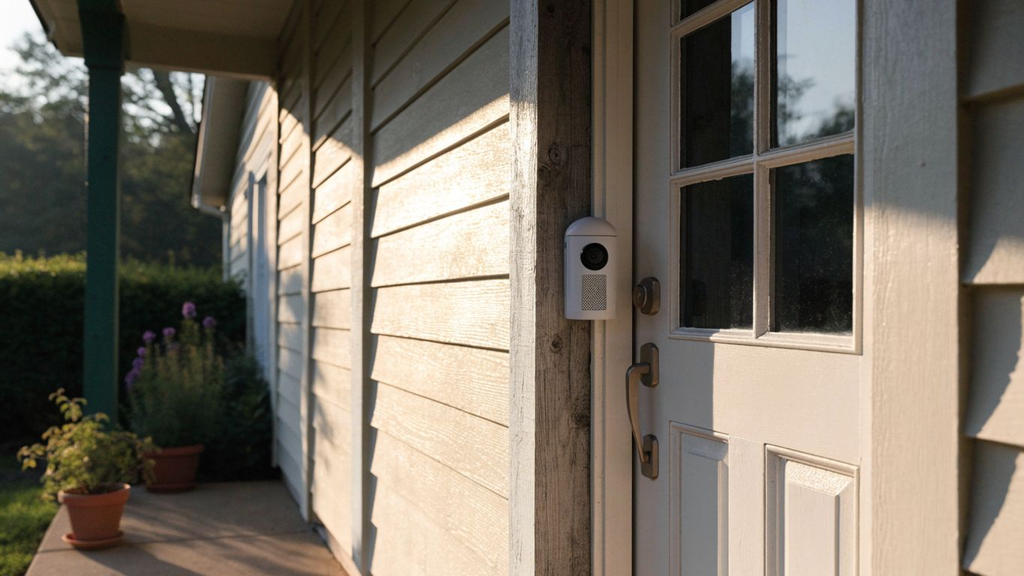
I start by looking at what already exists at the door. If there is a functioning doorbell circuit and its transformer, chime, and wiring meet the new model’s requirements, a wired replacement can provide continuous power with very little day-to-day maintenance.
If the existing wiring is missing, incompatible, damaged, or awkwardly placed, a battery-powered model can be easier. The trade-off is battery charging or replacement, and some advanced features can behave differently on battery depending on the brand.
The terms can overlap. A battery doorbell may support optional hardwiring for charging or chime integration, and a wired doorbell may still connect to your router over Wi-Fi. I treat power and network connection as separate decisions.
How I Test and Install Smart Doorbells at GearVerdicts
I test smart doorbells in real entryways, not only beside the router. Before I drill anything, I pair the device, update the app or firmware, hold the doorbell at the planned location, and check Live View, Wi-Fi, field of view, night reflections, motion path, and the area where packages are normally left.
For wired models, I verify the exact transformer voltage and VA requirement, chime compatibility, and any required chime adapter before I disconnect the old button. For battery models, I test removal and charging access because a perfect camera angle becomes annoying if the device is difficult to take off the mount.
- Camera coverage. I check whether faces, the approach path, and the doorstep are visible without the doorframe dominating the image.
- Motion behavior. I walk toward and across the camera at different distances to see whether alerts arrive early enough to be useful.
- Wi-Fi reliability. I open Live View repeatedly from the installed location and check whether the connection is stable at the front door.
- Audio and chime. I press the physical button, listen for the indoor chime or speaker, and test two-way talk.
- Night performance. I re-check the frame after dark because IR reflection from white trim, brick, siding, or a nearby wall can ruin a daytime-perfect angle.
- Maintenance. I confirm how the battery, security screw, mount, and reset controls can be accessed after installation.
GearVerdicts describes its smart-home coverage as hands-on and real-world, and that is the standard I use here. A smart doorbell is not finished when it powers on; it is finished when the installed system behaves correctly from the visitor’s approach through the notification on my phone.
See my Aqara G4 Doorbell review and Eufy E340 review for examples of the same real-world testing approach.
Smart Doorbell Installation Features & Requirements to Check
Before I buy anchors or remove the old button, I check the features that directly affect installation. These are not universal specifications, so each one needs to be verified against the exact product manual.
Power Source
A wired doorbell normally uses an existing low-voltage circuit, while a battery-powered model may use a removable rechargeable pack, a built-in rechargeable battery, or replaceable cells. Some battery models can also be hardwired for charging or chime integration.
Transformer Voltage and VA Rating
Voltage alone is not enough. The transformer also needs sufficient VA capacity. Ring, ecobee, Nest, Reolink, and other brands publish different ranges, so I never reuse a generic voltage figure as a substitute for the manual.
Existing Chime Compatibility
Mechanical and digital chimes are not universally compatible. Some doorbells need a chime adapter or power kit, while others bypass the old chime and rely on a plug-in or wireless chime.
Wi-Fi Band and Signal
Some doorbells use 2.4 GHz only, while others support both 2.4 and 5 GHz. I test signal at the actual mounting point because a strong signal in the hallway does not guarantee a stable connection outside the wall.
Mounting Height and Viewing Angle
Around 48 inches is a common starting point for some models, but the correct position depends on the lens, doorway, steps, package area, and manufacturer guidance. I use Live View before drilling and add a wedge when necessary.
Wall Material and Anchors
Wood, siding, stucco, brick, and concrete need different fasteners and drill bits. I avoid using a generic anchor when the surface or manufacturer hardware calls for something else.
Weather Resistance and Exposure
Weather ratings vary by model. Even weather-resistant devices benefit from sensible placement away from roof runoff, direct sprinkler spray, and strong reflective glare when possible.
Battery Access and Charging
A battery doorbell should be removable without fighting the wall or trim. I check whether the battery comes out or the whole unit must be removed, then keep the release path accessible.
Storage and Subscription
Some systems rely on paid cloud recording, some offer local storage, and others combine both. That choice can affect hubs, chimes, base stations, and where I place them.
Smart-Home and Chime Integration
Alexa, Google Home, Apple Home, brand chimes, existing chimes, and hubs all have different setup paths. I decide which integration matters before finalizing installation.
Smart Doorbell Installation Requirements & Specifications
Because this is a multi-brand guide, the table below lists the specifications I verify rather than pretending every smart doorbell shares one number. The exact values should come from the current manual or support page for your model.
This is especially important for transformer power, chime compatibility, Wi-Fi, and battery behavior. Those four items are responsible for many installations that look correct physically but fail after power is restored or the device is moved farther from the router.
| Feature / Specification | What to Verify | Why It Matters |
|---|---|---|
| Power method | Low-voltage wired, rechargeable battery, replaceable battery, PoE, or hybrid | Determines installation path and maintenance |
| Transformer voltage | Model-specific VAC range | Wrong voltage can prevent operation or damage equipment |
| Transformer capacity | Model-specific VA rating | Doorbell and chime need enough available power |
| Chime type | Mechanical, digital, brand chime, adapter, or unsupported | Controls indoor ring behavior |
| Wi-Fi | 2.4 GHz only or dual-band, model dependent | Affects setup and connection reliability |
| Mounting height | Use manufacturer guide and live view; ~48 in is a common starting point on some models | Affects faces, packages, and motion coverage |
| Mounting angle | Straight plate or wedge/angle adapter | Helps avoid side walls and blind spots |
| Weather rating | Model-specific IP/IPX rating | Determines acceptable outdoor exposure |
| Storage | Cloud, local, hub/base station, microSD, or subscription | Affects recording after installation |
| App/account | Manufacturer app and supported phone OS | Required for pairing, updates, alerts, and settings |
The main lesson is that the old doorbell button is not a compatibility certificate. I verify the transformer label or measured output, VA capacity, chime, and the exact smart doorbell instructions before treating existing wiring as ready to reuse.
Tools I Prepare Before Installation of a Smart Doorbell
Most battery installs need only basic mounting tools. Wired replacements can require a few additional items for safe removal and compatibility checks, but the exact tool list still depends on the wall material and model.
- Phillips and flat-head screwdrivers. Use the sizes specified by the manufacturer so security and terminal screws are not stripped.
- Drill and correct drill bits. Wood, siding, masonry, brick, and concrete may need different bits and anchors.
- Level or phone level. A level mount improves appearance and keeps the camera framing predictable.
- Pencil or marking tool. Mark bracket holes only after checking Live View at the intended position.
- Pliers or wire tools. Useful for existing low-voltage wires when the installation guide calls for them.
- Voltage tester or multimeter if qualified to use it. Helpful for checking doorbell wiring and transformer output, but I do not alter mains-voltage wiring unless qualified.
- Step ladder and safety glasses. Useful when the mounting point or transformer location requires safe access.
ecobee’s current wired-doorbell instructions, for example, call for common hand tools plus a drill and surface-appropriate bits, while still requiring the exact model’s 16-24 VAC, 10 VA minimum power supply.
How to Install a Wired Smart Doorbell
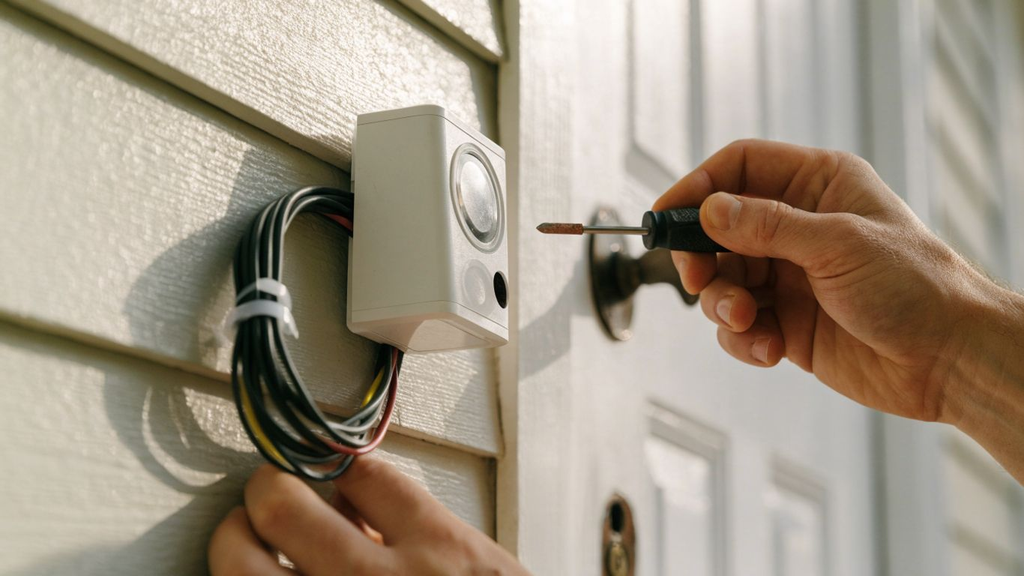
A wired replacement is usually straightforward when the existing low-voltage circuit is already compatible. The part I do not shortcut is power verification: different models can have different voltage and VA ranges even when they look similar.
If there is no existing low-voltage doorbell circuit and a new transformer or household wiring is required, I treat that as electrical work rather than a simple smart-home mount. Local rules may require a licensed electrician.
Step 1: Confirm the Exact Model Requirements
Check voltage, VA, chime, power-kit, Wi-Fi, and mounting instructions before touching the old doorbell. Current ecobee guidance requires 16-24 VAC and at least 10 VA, while Ring publishes different transformer ranges across doorbell families.
Step 2: Shut Off Power at the Breaker
Switch off the circuit feeding the doorbell transformer before removing the old button. If I cannot identify or verify the circuit safely, I stop rather than guessing.
Step 3: Remove the Old Doorbell and Secure the Wires
Remove the old button carefully and keep the low-voltage wires from slipping into the wall. Tape or a temporary clip can hold them in place.
Step 4: Install Any Required Chime Adapter or Power Kit
Some wired doorbells need a chime adapter, jumper, power kit, or bypass. I install only the component specified for that model and chime type.
Step 5: Connect the Doorbell Wires
Attach the low-voltage wires to the specified terminals and follow polarity instructions, if any. Avoid over-tightening terminals or leaving exposed conductor.
Step 6: Mount the Bracket and Set the Camera Angle
Use the tested location, correct anchors, and a wedge if the frame or side wall blocks too much of the view.
Step 7: Attach the Doorbell and Restore Power
Once the wiring is enclosed and the device is secure, restore power and wait for boot-up. If it stays offline, return to the exact power and chime requirements.
Step 8: Complete App Setup and Test the Chime
Finish pairing, update firmware, press the physical button, and verify the chime, app alert, Live View, and two-way audio.
If you are installing Ring specifically, my Ring doorbell wiring guide goes deeper into Ring transformer and chime variations.
How to Install a Wireless or Battery-Powered Smart Doorbell
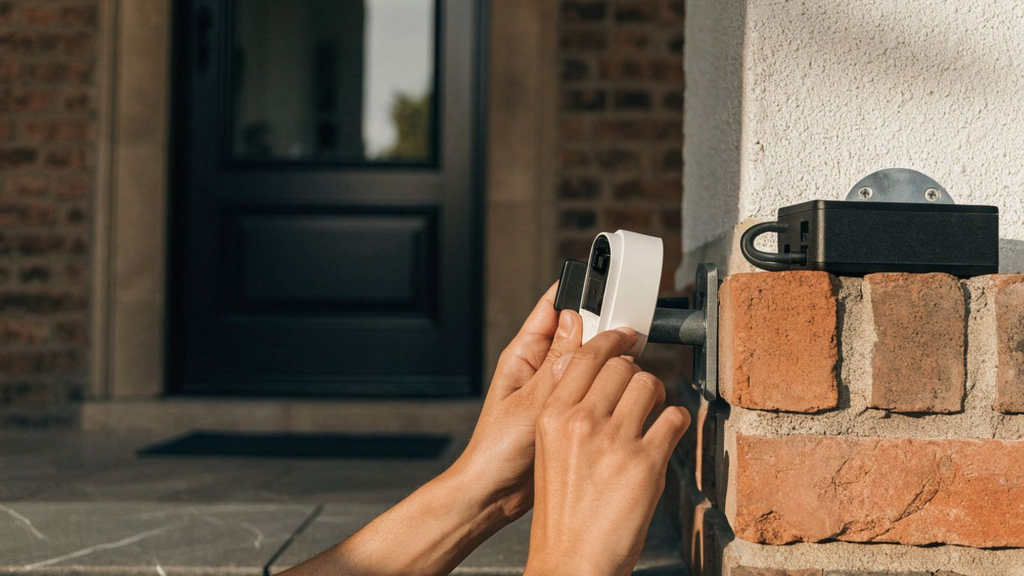
Battery-powered installation avoids connecting the doorbell to existing low-voltage wires, which makes it the easier choice for many renters, apartments, and doors without compatible wiring. I still pair the device before mounting so I do not discover a Wi-Fi or account problem after drilling holes.
I also check the exact battery design. Some doorbells use rechargeable packs, some have a built-in battery, and some use replaceable cells. The maintenance plan changes depending on which design you choose.
Step 1: Charge or Install the Battery
Follow the model instructions instead of assuming every battery doorbell charges by USB. Removable packs, built-in batteries, and replaceable cells each need a different setup.
Step 2: Pair the Doorbell Before Final Mounting
Add the device in the manufacturer’s app while it is still easy to reach. Pairing often uses a QR code or setup button on the rear.
Step 3: Test Wi-Fi and Live View at the Door
Hold the doorbell at the planned position and open Live View several times. Solve weak connection problems before drilling.
Step 4: Check the View and Night-Reflection Risk
Make sure the camera sees the approach and doorstep without a nearby wall or glossy trim dominating the frame. Use a wedge when needed.
Step 5: Mark and Drill the Mounting Holes
Use the supplied template and correct anchors. Around 48 inches can be a useful starting point on some models, but the manufacturer guide and live image decide the final height.
Step 6: Secure the Bracket and Doorbell
Tighten the mount so it cannot wobble, then attach the doorbell and security screw. Confirm the battery or device can still be removed for service.
Step 7: Configure Alerts and Recording
Set motion zones, notification sensitivity, package or person alerts where supported, and the recording or subscription option you plan to use.
Step 8: Test From a Visitor’s Path
Walk toward the door, press the button, wait for the alert, open the video, and test two-way audio. Repeat after dark if night monitoring matters.
For battery-powered examples, compare my Ring Battery Doorbell Plus review, Aqara G4 review, and Eufy E340 review.
Set Up the Doorbell in the App
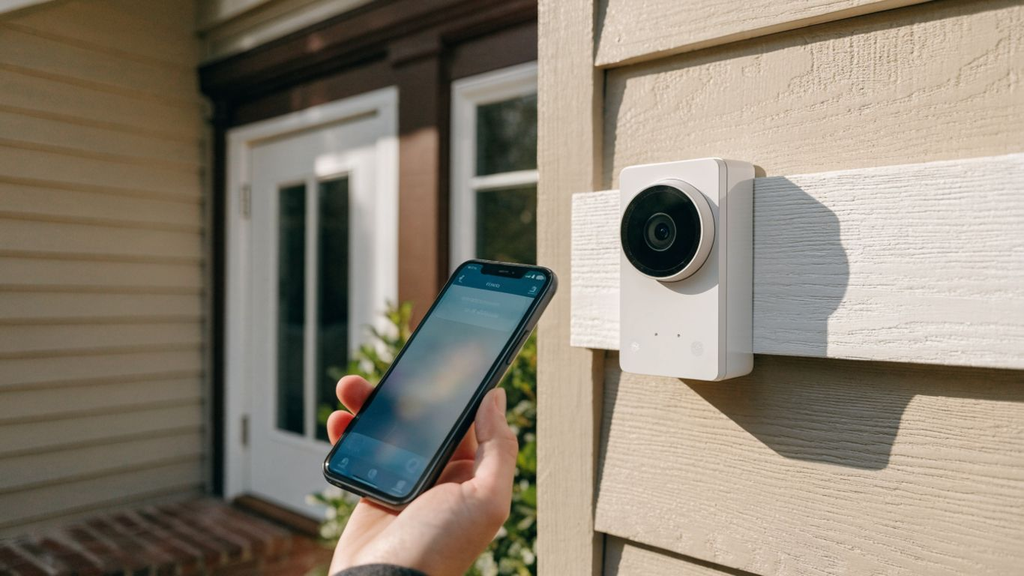
Once the hardware is mounted and powered, I finish the digital setup. The app is where most smart doorbells manage firmware, motion zones, recording, two-way talk, chime behavior, privacy zones, account security, and smart-home integrations.
I keep the phone close to the doorbell during first setup and use the exact network band the manufacturer supports. If connection fails, I troubleshoot Wi-Fi and app permissions before assuming the hardware is defective.
Connect the Correct Wi-Fi Network
Confirm whether the model supports only 2.4 GHz or also 5 GHz. A dual-band router does not mean every doorbell can use both.
Install Firmware Updates
If the app offers an update, install it before judging detection or connection behavior.
Configure Motion Zones
Exclude busy streets, trees, and neighboring walkways where possible. The goal is useful alerts, not maximum sensitivity everywhere.
Set Notifications and Chime Behavior
Choose which events should alert the phone and confirm whether the old indoor chime, a brand chime, or a smart speaker should sound.
Choose Recording and Storage
Confirm whether clips are cloud-based, local, subscription-dependent, or stored through a hub/base station.
Enable Account Security
Use a unique password and multi-factor authentication when supported. A physically secure camera is still a connected account.
If you use Ring and want to know what works without a paid plan, see Does Ring Doorbell Require a Subscription?.
Test Your Smart Doorbell After Installation
I do not treat successful pairing as a finished installation. A doorbell can connect perfectly while the camera angle, chime, motion zones, audio, or night image is still wrong.
- Press the physical button. Confirm the app alert and any indoor chime arrive as expected.
- Open Live View. Check the visitor’s face, doorstep, package area, and path to the door.
- Walk toward and across the camera. Test motion from the directions visitors actually use.
- Test two-way audio. Confirm both sides of the conversation are understandable at a normal distance.
- Check recording. Verify the event appears in cloud or local history if recording is part of your setup.
- Test after dark. Look for IR glare, bright porch lights, deep shadows, or reflective walls that were not obvious in daylight.
- Check battery or power health. Confirm the app reports normal power after several test events and Live View sessions.
I make one change at a time when tuning the setup. If I change sensitivity, zones, angle, and Wi-Fi at once, I cannot tell which change fixed or created the problem.
Troubleshooting Common Smart Doorbell Installation Problems
Most post-install problems fall into four groups: power, network, chime, or placement. I troubleshoot in that order instead of removing the device immediately.
Doorbell Will Not Power On
For wired models, confirm breaker, transformer voltage and VA rating, terminals, and required chime adapter. For battery models, confirm charge and battery installation.
Doorbell Will Not Connect to Wi-Fi
Verify password, supported band, signal strength, app permissions, and router settings. Better network coverage can be preferable to moving the camera to a bad angle.
Existing Chime Does Not Ring
Re-check whether the model supports the chime and whether a power kit, adapter, bypass, or in-app chime setting is required.
Too Many Motion Alerts
Reduce unnecessary zones and sensitivity, and keep traffic, trees, and reflective areas out of the most sensitive detection area.
Doorbell Misses Visitors
Test subject direction, mounting angle, detection distance, battery-saving settings, and network reliability.
Night Video Is Washed Out
Look for IR reflection from a wall, white trim, glass, or nearby object. A small angle change can fix more than an image-setting change.
Battery Drains Too Quickly
Review motion frequency, Live View use, clip length, signal quality, and temperature. High-traffic locations use more power.
Common Smart Doorbell Installation Mistakes to Avoid
The biggest installation mistakes happen before the first screw goes into the wall. Most are compatibility assumptions that create more work later.
- Assuming every wired doorbell uses 16-24 VAC. Current products use different ranges and VA requirements, so check the exact model.
- Assuming a battery doorbell is rechargeable. Some use replaceable cells, and charging or replacement access should be planned before mounting.
- Drilling before checking Live View. A secure mount in the wrong place still gives poor video.
- Ignoring the VA rating on the transformer. Correct voltage with insufficient capacity can still cause power or chime problems.
- Assuming the old chime will work. Compatibility can depend on chime type and model-specific adapters.
- Using the wrong wall anchor. The included screw alone may not be appropriate for brick, concrete, stucco, or hollow siding.
- Leaving Wi-Fi testing until the end. A weak-signal location can create delayed alerts and unreliable Live View.
- Changing mains-connected equipment without the right skills. A new transformer or household wiring is not the same task as replacing a low-voltage button.
- Skipping night testing. IR reflection can ruin an otherwise good camera angle.
- Forgetting recording and account security. The installation is incomplete if recordings, notifications, or account protection are not configured.
I would rather spend ten extra minutes checking power, Wi-Fi, and framing before installation than spend an hour removing and reinstalling the doorbell afterward.
Wired vs. Wireless Smart Doorbell: Which Is Better for Your Home?
I choose wired when there is a compatible existing circuit and I want continuous power with minimal battery maintenance. I choose battery when placement flexibility or the lack of suitable wiring matters more than periodic charging or battery replacement.
Neither is automatically more advanced. Some premium battery models offer excellent video and AI features, while some wired models prioritize continuous power or recording. The best choice depends on power, mounting location, network, chime expectations, and maintenance.
- Choose wired when compatible low-voltage wiring exists, you want continuous power, and the transformer/chime meet the exact model requirements.
- Choose battery-powered when you want flexible placement, do not have compatible wiring, or want to avoid modifying the circuit.
- Choose a hybrid model when you want battery flexibility plus optional hardwiring for charging or chime behavior.
- Choose professional installation when a new transformer, new mains connection, damaged wiring, code compliance, or uncertain electrical work is involved.
The comparison table below is a final summary after the decision points above. It is not meant to replace the specific doorbell manual.
| Category | Wired Smart Doorbell | Battery / Wireless Smart Doorbell |
|---|---|---|
| Power | Continuous low-voltage power | Rechargeable, built-in, or replaceable battery |
| Existing wiring | Usually required for a replacement | Not required for basic battery use |
| Transformer check | Required | Only if optionally hardwired |
| Chime | May use existing chime, adapter, or separate chime | Often app/brand chime; some support optional wired chime |
| Installation effort | More compatibility and electrical checks | Usually faster physical installation |
| Maintenance | Low routine power maintenance | Periodic charging or battery replacement |
| Placement flexibility | Limited by wiring unless rewired | High, subject to Wi-Fi and mounting |
| Best for | Compatible existing circuit and low-maintenance power | Renters, no wiring, flexible placement |
For most homes with a compatible existing doorbell, wired is the low-maintenance choice. For homes without suitable wiring, renters, or awkward mounting locations, battery power is usually the cleaner installation.
Recommended GearVerdicts Doorbell Guides to Read Next
Installation is only one part of choosing a doorbell. These live GearVerdicts pages cover specific hardware, wiring, subscription costs, and removal if you are still deciding or upgrading an existing setup.
- Eufy E340 Smart Doorbell Review – For a battery-or-wired dual-camera doorbell with local storage.
- Aqara G4 Doorbell Review – For Apple Home-oriented buyers comparing battery and wired power.
- Ring Battery Doorbell Plus Review – For a Ring battery model and its head-to-toe video approach.
- How to Wire a Ring Doorbell – For Ring-specific transformer, chime, and wiring details.
- How to Remove a Ring Doorbell – For safe removal, battery access, transfer, or replacement.
- Does Ring Doorbell Require a Subscription? – For Ring’s free vs. paid feature trade-offs.
- How to Set Up a Blink Camera – For Blink setup concepts and model-specific Sync Module behavior.
I use internal links only where they solve the next question a reader is likely to have. That keeps the installation guide useful without turning it into a directory.
Final Verdict: The Best Way to Install a Smart Doorbell
The cleanest smart doorbell installation starts with compatibility, not the drill. I confirm the power method, transformer and VA rating where applicable, chime behavior, Wi-Fi, mounting angle, wall material, battery access, app requirements, and recording plan before I change anything at the door.
For battery models, pairing and testing the location before mounting prevents most avoidable rework. For wired models, shutting off power and using the exact model’s wiring and transformer requirements is more important than any generic smart-doorbell diagram. Once the hardware is secure, I finish with a full visitor-path test in daylight and at night so I know the installed system actually works the way I expect.
Frequently Asked Questions
Can I install a smart doorbell myself?
Yes, many battery installations and straightforward wired replacements are manageable for someone comfortable with basic tools and the manufacturer’s instructions. If a new transformer, mains wiring, damaged wiring, or uncertain electrical work is involved, use a qualified electrician.
Do I need existing wiring for a smart doorbell?
No. Battery-powered models can usually be mounted without doorbell wiring. Wired models need a compatible power source, and some battery models can optionally be hardwired for charging or chime integration.
What voltage does a smart doorbell need?
There is no universal voltage. Current Ring models span multiple ranges, ecobee’s wired model requires 16-24 VAC and 10 VA minimum, Nest wired models use model-specific 16-24 VAC requirements, and Reolink has its own 12-24 VAC or DC specifications. Check the exact model.
Should I turn off the breaker before replacing a wired doorbell?
Yes. I turn off the circuit feeding the doorbell transformer before handling wired components. If I cannot identify or verify the power source safely, I stop and get qualified help.
Will my existing chime work with a smart doorbell?
It depends on the exact doorbell and chime. Some support mechanical or digital chimes, some require an adapter, and some do not use the old chime at all.
How high should I mount a smart doorbell?
Around 48 inches is a common starting point for some manufacturers, but the exact position should follow the model’s guide and the live camera view.
Can a smart doorbell use 5 GHz Wi-Fi?
Some can and some cannot. Check the model specification. Many current models support dual-band Wi-Fi, while some doorbells remain 2.4 GHz only.
How long does smart doorbell installation take?
A simple battery installation may take roughly 15-30 minutes, while a straightforward wired replacement may take around 30-60 minutes. Compatibility problems, masonry drilling, chime adapters, or electrical upgrades can make it longer.
Can I install a smart doorbell in an apartment?
Often yes, but check the lease, landlord rules, and exterior modification policy first. Battery and no-drill mounts can be easier to reverse, but they are not automatically permitted in every building.
Why is my wired smart doorbell not getting enough power?
Common causes include incompatible transformer voltage, insufficient VA capacity, chime wiring, a required power kit that was not installed, loose terminals, or a damaged circuit.
Why does my doorbell work in the app but the indoor chime does not?
The doorbell can have enough power to connect while the chime path is incompatible or misconfigured. Check the chime type, adapter or power kit, and in-app chime setting.
Should I set up the app before mounting the doorbell?
I prefer to pair and test the device before final mounting whenever possible. It makes QR-code access easier and lets me verify Wi-Fi and Live View before drilling holes.